Showing posts with label jam. Show all posts

Monday, 25 June 2012

Really good fruit scones

Here's a confession - that title is ironic. This blog post is actually about really HORRIBLE fruit scones!


I love scones. I really love scones. Our holiday to Cornwall last year seemed to mainly be about scones - we accidentally ate cream teas almost every day. I love baking them - I love the look of them, the smell of them, the way the crumbly mixture falls through your fingers, and most of all I love their yummy taste. Spread with lashings of jam, and some naughty cream... maybe even clotted cream if you're lucky.

However, despite my excitement at the idea of baking scones, today's efforts were awful.

Baking rule #1: Always pay attention.
Baking rule #2: Make sure you use the right type of flour.

In my excitement and haste, I reached into the cupboard for my self-raising flour. I saw the plain flour, though "no, that's not it..." and reached for the packet of flour above it. La la la, I merrily continued to make the scone mixture, rolled it out, cut the little scones out.... And then, just as I was popping the little buckets of sconey deliciousness on to the baking trays, I realised I had used Strong Bread Flour. Strong Bread Flour!!! For God's sake. It was too late to try to limit the damage by adding any raising agent into the mix.... I had to just stick 'em in the oven and hope for the best, which I knew wouldn't happen.

Out they came 10 minutes later. They looked like little fruity weapons.

They didn't taste very good.


But, with enough jam and clotted cream, anything can be made edible.....

If you'd like to make scones, follow the recipe below, and PLEASE use the right sort of flour - if you do, these turn out lovely!

250g self-raising flour
pinch salt
50g caster sugar
50g marg
1 egg
100ml buttermilk

Sift the flour, salt, and sugar together. Add the butter and rub into the flour using the tips of your fingers - raise your hands up as the crumbs fall through your fingers to get lots of air into it. Mix the egg into the buttermilk, then mix into the butter/flour mixture using a knife. Once it starts to come together, get your hands in and form the mixture into a ball of dough. Roll out on a floured surface and cut out rounds. Bake on baking trays for about 10 minutes until nicely golden.

Serve warm, with jam and cream. Lovely.

But use the RIGHT FLOUR!!!

Tea Time Treats - Cherry Bakewell Cake

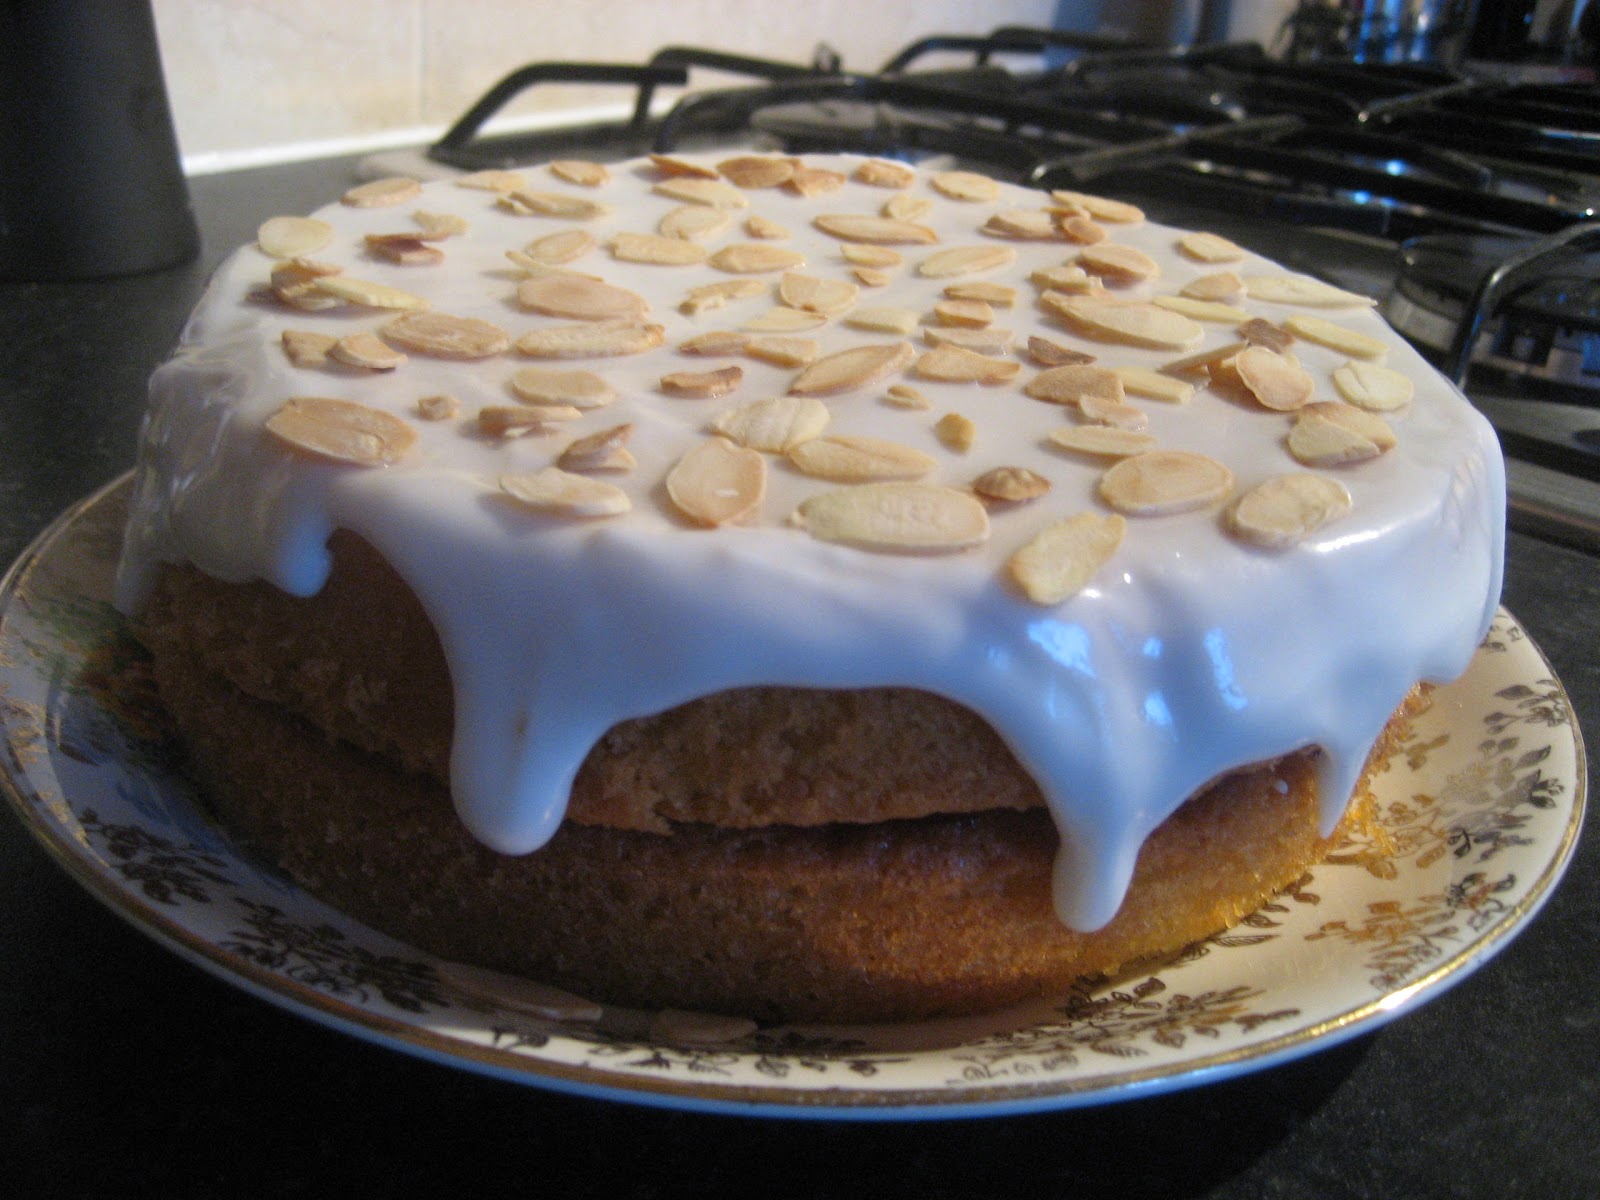
My inaugural entry in Karen's Lavendar & Lovage and What Kate Baked June Tea Time Treats blogerific challenge is: Cherry Bakewell Cake!


This month's challenge was 'berries' and how could I not enter this yummy cake, which I've been using to cheer up and inspire all of my cake-loving friends lately. This weekend I made this cake for a hen party, which included a life drawing class (very fun but very odd...) followed by High Tea. Lots of people make cakes, but most were cupcakes (see this brilliant rant about cupcakes) - but I was very happy to see that most hens went straight for the cake - sharing and enjoying a slice is so much more enjoyable than a cupcake at a party like this I think.

Anyway, back to the berries and cake. Here's the recipe... It makes a very moist, very berry, very morish cake.

200g margarine
200g golden caster sugar
100g ground almonds
100g self-raising flour
1 tsp baking powder
1/2 tsp almond essence
4 large eggs

Put everything in a big bowl and mix together (it helps if the marg is nice and soft to start with). Pour into two 20cm cake tins, and bake at 180 degrees (160fan) for about 30 - 35 minutes. The cake will be quite soft and spongy when cooked, but a skewer should come out clean.


I did find the cake very delicate and difficult to handle when getting it out of the tin, and a little did fall off. But it survived. When you're putting the layers together, make sure the one on the top is upside-down, so it's nice and flat to spread the icing on to.

When cool, spread one layer with cherry conserve. Place the second layer on top, and spread over some icing (icing sugar & cooled boiled water - I never measure icing amounts!). It's nice to get the icing to dribble stylishly down the side of the cake - but I'm not great at that sort of thing so it looks a bit lumpy. I think I need to go to a cake decorating course... Finish off with a sprinkling of toasted flaked almonds.


I love the cherries in the cherry conserve. They're so chewy and squidgy, jammy and gooey, and tart while sweet and delicious. I wish I could say I made the jam myself... but unfortunately I didn't.

Perfect with a cup of Earl Grey (or whichever tea you prefer... but not chocolate tea) at tea time.

Wednesday, 23 May 2012

Cake Night - Cherry Bakewell Cake

Cake really is made for sharing.

Tonight I had Cake Night with my friend and colleague, Kelly, a talented journalist so full of ideas she doesn't know what to do with them. But although she's mastered the art of words, she isn't so great in the kitchen (we had to explain how to make scrambled eggs not so long ago).

Cherry Bakewell Cake
So, we arranged Cake Night, a bit like a school cookery lesson, but time to chat and relax together too. We baked a Cherry Bakewell Cake, something quite simple but with great results. I was proud of Kelly's first cake...

200g margarine
200g golden caster sugar
100g ground almonds
100g self-raising flour
1 tsp baking powder
1/2 tsp almond essence
4 large eggs

Put everything in a big bowl and mix together (it helps if the marg is nice and soft to start with). Pour into two 20cm cake tins, and bake at 180 degrees (160fan) for about 30 - 35 minutes. The cake will be quite soft and spongy when cooked, but a skewer should come out clean.

When cool, spread one layer with cherry jam or conserve. Place the second layer on top, and spread over some icing (icing sugar & cooled boiled water - I never measure icing amounts!). Finish off with a sprinkling of toasted flaked almonds. 

Make sure to grease your tins and use baking paper. We didn't have any baking paper, and so a little part of the cake fell off as we were trying to turn them out, but the icing soon covered that part up - and it tasted great even if it wasn't the neatest.

Slighty wonky part...

It was lovely to spend time with a friend, chatting and baking together, and then being proud of something we made together. There's something so fulfilling of slicing up that cake you'vev spent time perfecting, sharing it out to friends and family, and enjoying watching them tell you it's delicious.

This cake was ideal for a beginner, as you just bung everything in a bowl, mix, and hope for the best. The taste is beautiful - the tang of the cherries, the sweet icing, the scrumptious almonds... It really is like a cherry bakewell tart in a cake.

Delicious and just like a cherry bakewell tart

Friday, 6 May 2011

A trifle excited

The Royal Wedding was a week ago and it was brilliant. I think I'm late with this blog post as the excitement hasn't quite worn off yet...

Being a good day to be British, I made cucumber sandwiches (and ham ones for those who have to have meat), a gorgeous Victoria sponge cake with buttercream and jam filling, and a traditional sherry trifle. Yum!!! It was a brilliant spread, topped off with copious cups of tea and cream soda.


I timed the cake needing to come out of the oven at the exact moment Kate would arrive at the church, so there was some mad running between lounge and kitchen to both catch a glimpse of the dress and prevent the cake from burning at the same time. Luckily I managed both.

Saturday, 30 October 2010

Frangipane

Not technically a teapot or a quilt, but mmmm lovely! Frangipane tart, from Jamie Oliver's recipes on his '30 minute meals' programme on channel 4. Very tasty. Even if I forgot to blind bake the pastry so they pooofed up a little too much...